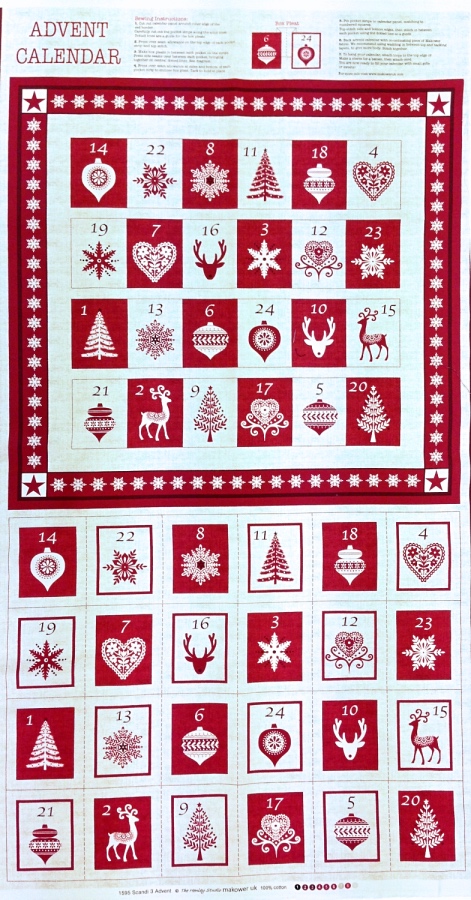
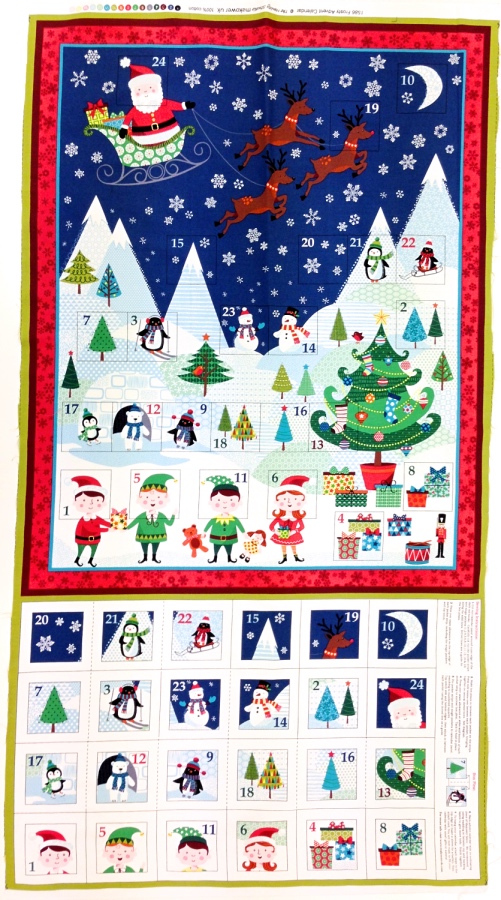
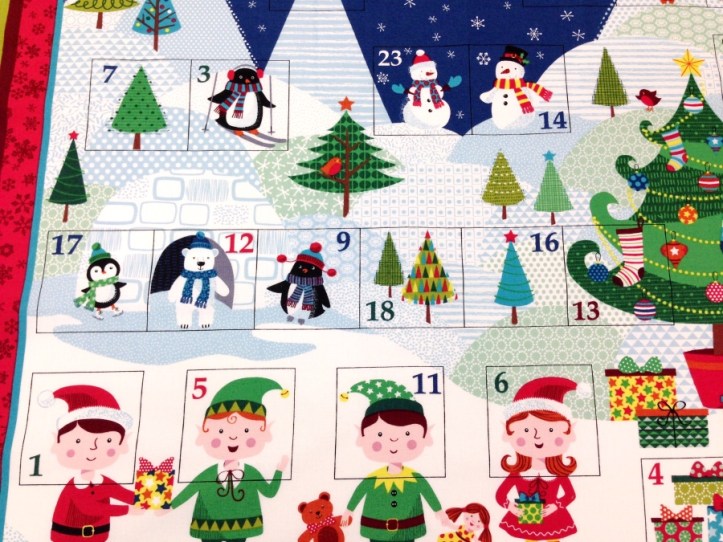
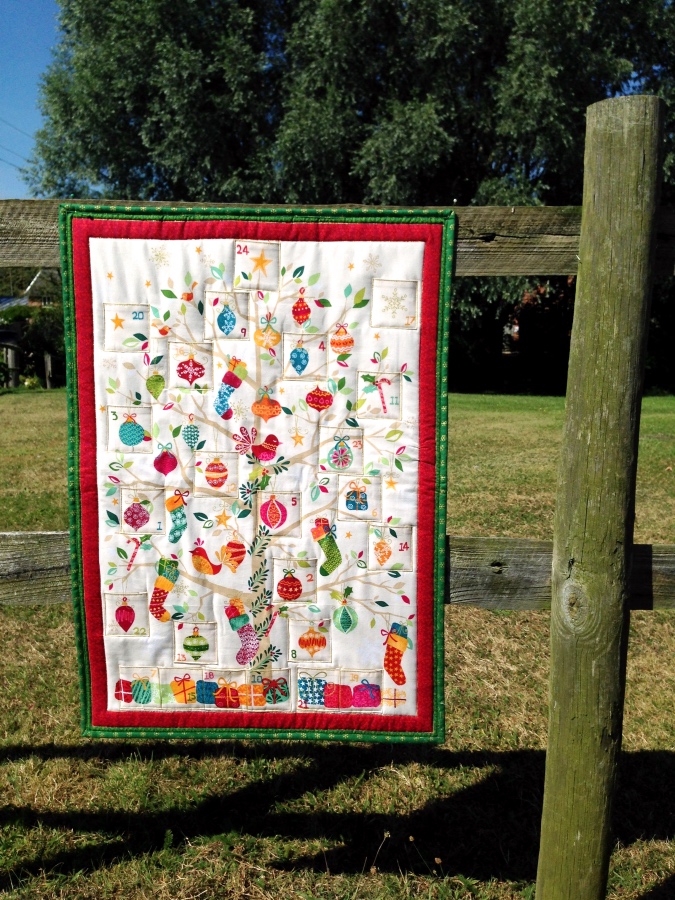
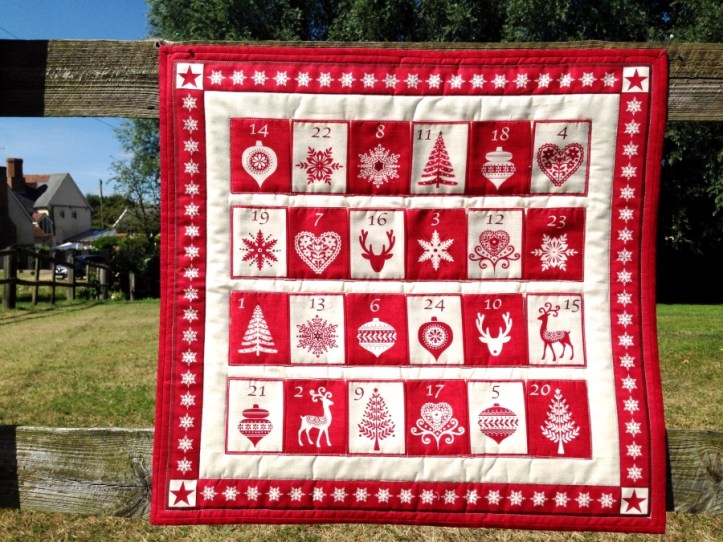
The shops are full of Advent calendar panels these days – we have currently two in the stock, they are easy to make once you know how so here is couple of pictures and instructions to help you along the way …
First cut out the pockets from the panel – the key is to keep them as a strip to start with even if they will be attached individually. You will usually find four strips of the pockets – take each strip, fold the top edge and press. Repeat with the bottom edge. Now prepare matching or contrasting thread – that depend on the look you are after – and top stitch the top edge only to keep the fold in place.
NOTE: there is this question … do you fold the top edge twice to neaten it up? I personally don’t; firstly there is usually not enough fabric to do so and secondly the pocket will be used twice in a year – to fill it and to empty it. Jasmine has got her calendar now for at least 3 years and I don’t see any sign of the pockets falling apart – and she is very eager to get things out let me tell you!
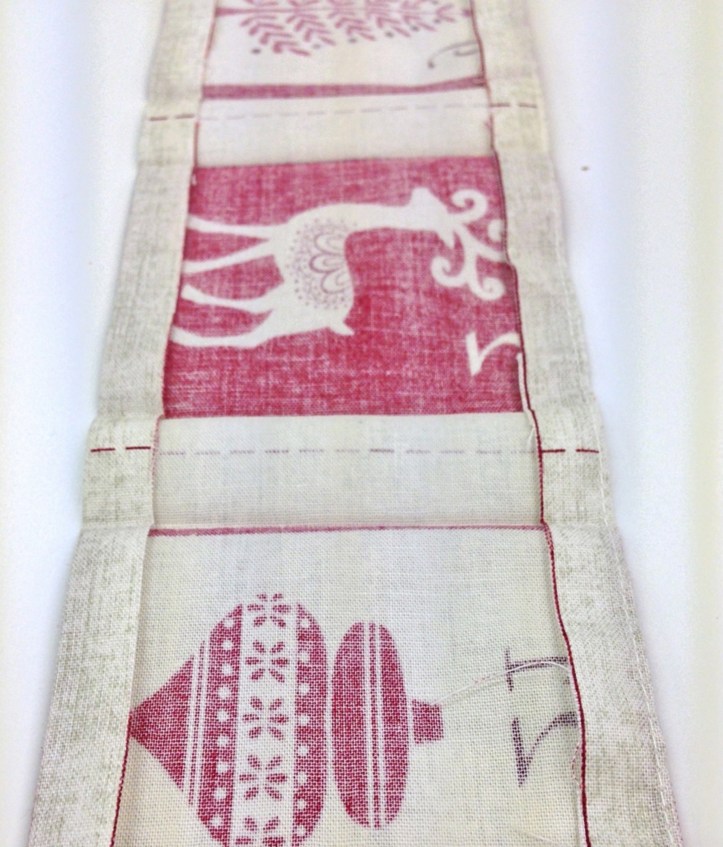
If your pockets are all made in one strip like mine, you will now need to press the side edges of the pockets – this will make your life easier once you’re trying to attach them in place. So fold in the short sides of the strips and continue pressing the fold on the edge of each pocket. 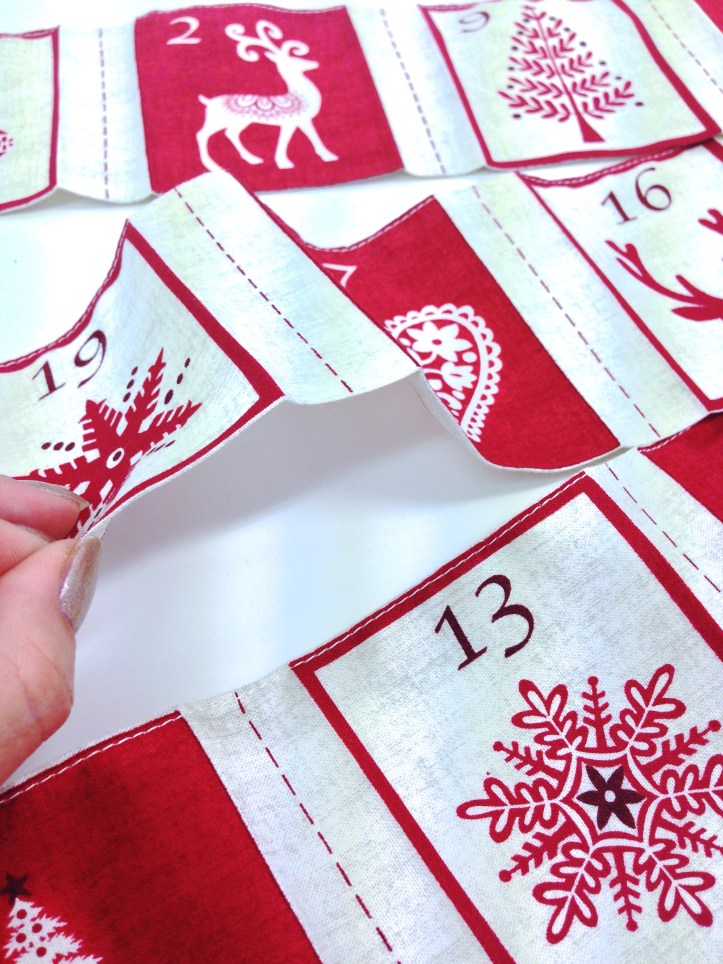
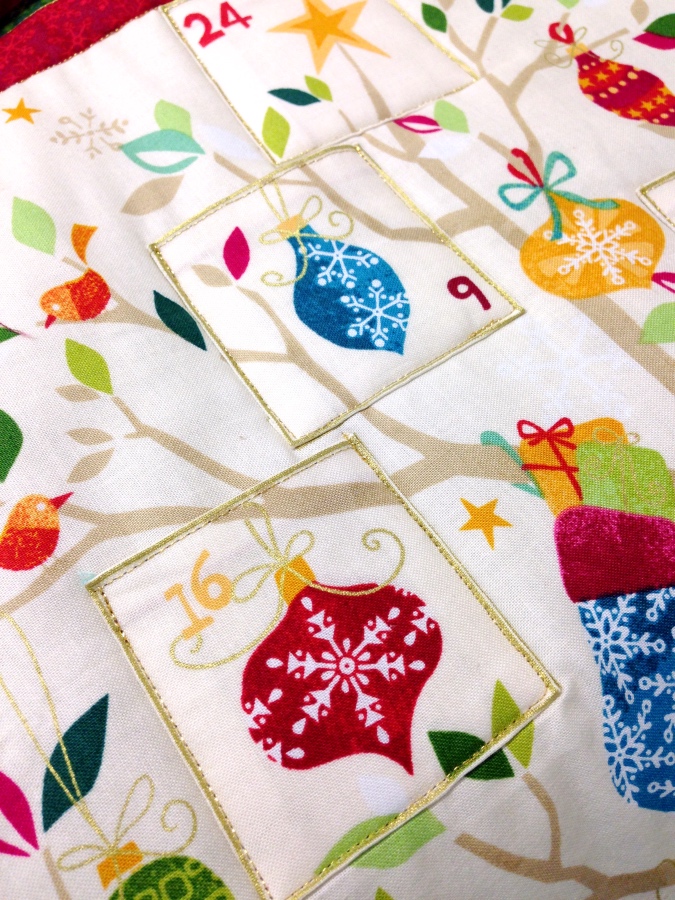
Some calendars have some pockets attached individually as well as strips – as on picture below. So take the calendar as a guide and cut the strips into according sections. Fold and press the strips of pockets as in previous step. The individual pockets will have their sides folded under and pressed.
Once you have the pockets ready, you might want to consider how you’d like to construct the calendar. You can attach the pockets to the panel of the calendar and quilt it after or first quilt the calendar and then attach the pockets or the way I prefer is to place the wadding and backing under the panel now and attach the pockets through the three layers – this way you will quilt it at the same time, killing two birds with one stone.
Cut your wadding and the backing about an inch and half larger on each side than the panel. Press the backing and the panel – you don’t want to quilt over any creases. Place the backing right side down on the table or floor – tape it down in the corners, place the wadding next and the panel on the top right side up. Place couple of pins to hold it together or tack it with few straight lines of stitching or use the adhesive spray to hold it together. You need to tape the backing to your work surface in order to keep it flat – once you place the wadding on it you can’t see if it moved or crinkled somewhere.
To attach the individual pockets simply place the pocket at it’s place and stitch starting on one side, continuing on the bottom and finish on the other side. You will need to do back stitch at the beginning and the end as children will want to dug into them! Use the same thread you’ve used for the top of the pockets.
To attach the strips of the pockets you will start by placing the line between the pockets onto the same line on the panel and sewing exactly on the line with backstitch on the top and bottom.
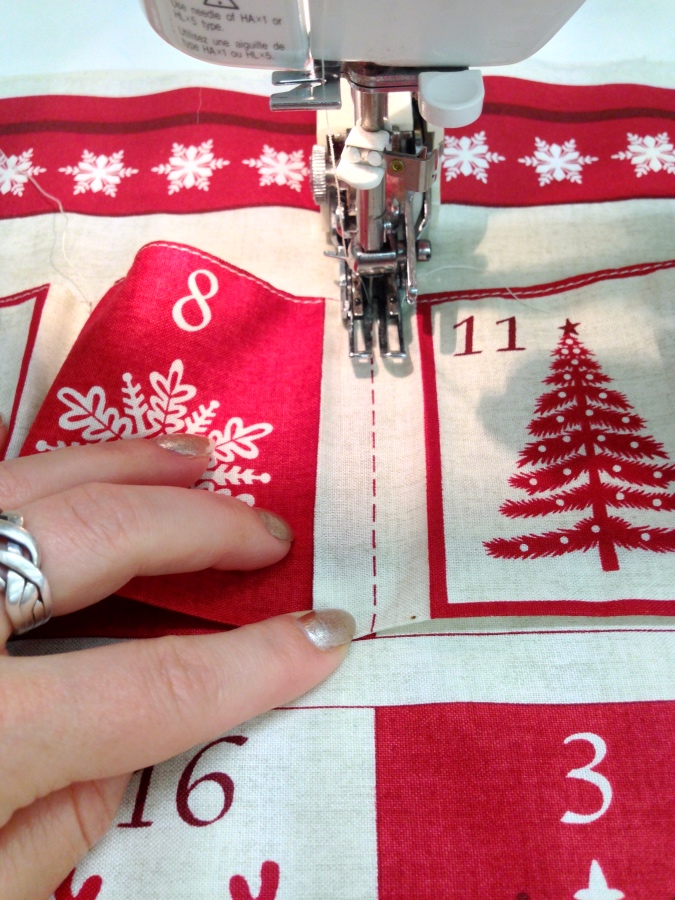
Once you have all the lines sewn up place the edge of the right pocket in place and start sewing it in place – sew the side, turn the panel and start sewing the bottom. Before you reach the edge of the pocket fold that little excess of the fabric underneath – the folds you have pressed at the beginning should now help you – fold the edge of the next pocket as well and butt them up – hold them down with your finger or with a pin and sew over. Repeat with the next pocket until you reach the end, then turn around the corner and finish with the side.
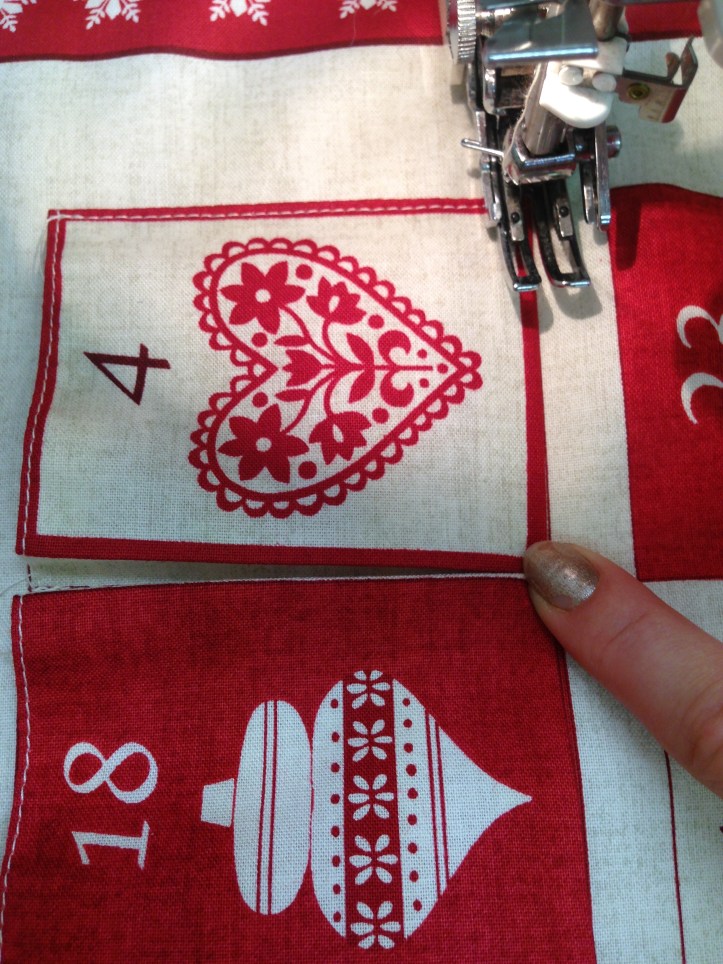
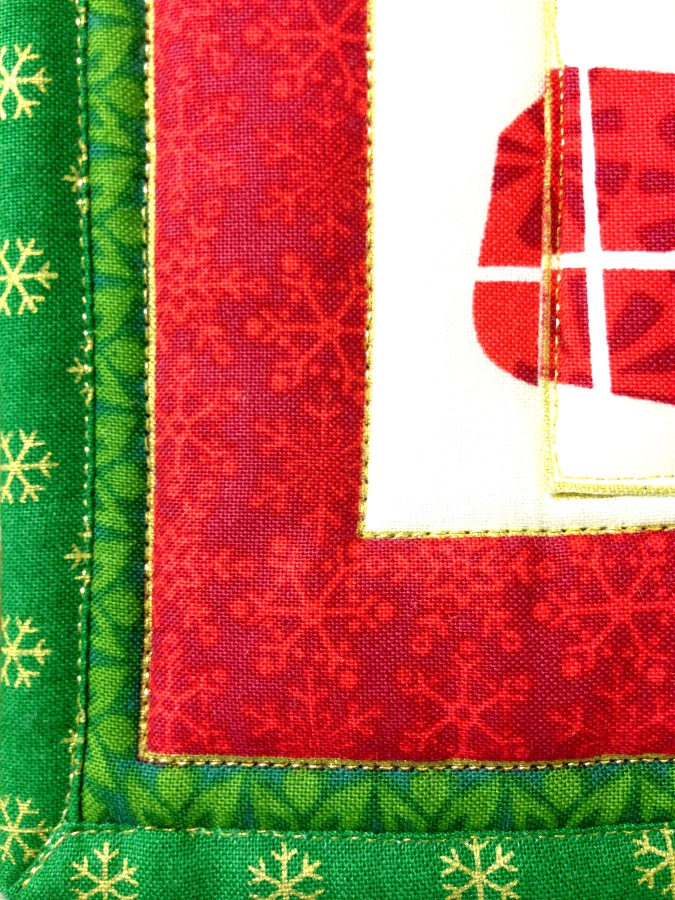
This is how it will look from the top if you have only two pockets next to each other.

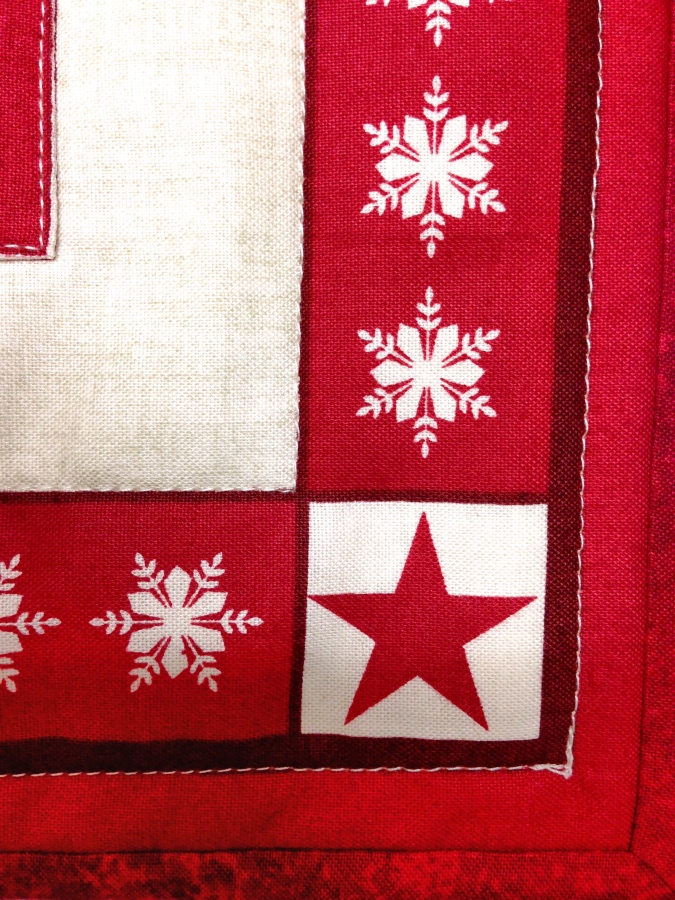
Once all the pockets are in place, you can now quilt around the edges, the panel has usually nice frames around so you can just follow the lines with your straight stitch and make it look as though you have pieced the borders and quilted them in the ditch.
Once all the quilting is done it’s time to trim the excess wadding and backing and attach the binding. If you’ve never done binding you can find my free tutorial on bindings here. You will also need to attach a hanging sleeve or some other way to hang it on the wall. I’ll be writing hanging sleeves tutorial next month, so come back here for more detail on that.
Once you have the calendar finished it will just need the most important thing – fill the pockets. I usually use the chocolate coins or chocolates in foil in shapes of balls, Santas etc. I never have the patience to keep buying little toys which would fit in, but I have heard that Lego pieces are great idea if your children like to play with it.
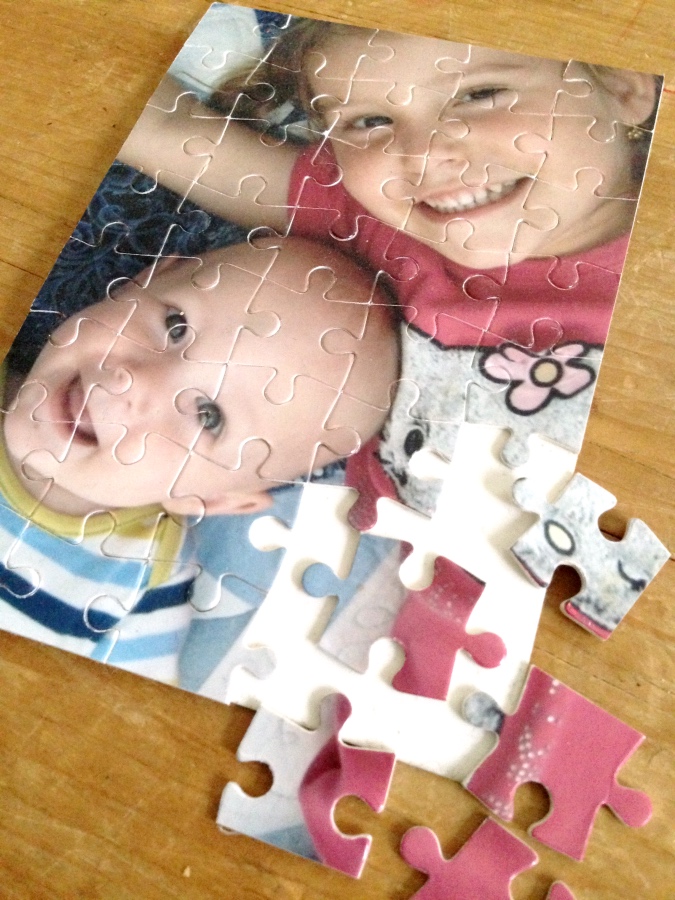
I found one wonderful filler and that is jigsaw puzzle! First year Jasmine had a Peppa Pig jigsaw which actually had 24 pieces and the following year I send a photo of Jasmine with Balthazar to an online company and they printed it onto cardboard and cut into jigsaw. As it had 40 pieces most pockets had 2 pieces. The only thing you have to keep in mind is to place in the pieces which are next to each other so that the child can always attach the next piece to those they already have.
So I hope you find this helpful and let me know what you have filled your calendar with!
Thank you for reading
Vendulka

